3 min read
How to make a fuse bead pattern from a photo
Turn a favorite photo into a Perler bead pattern with a simple grid, fewer colors, and a clear plan for your pegboard.
What you’ll need
Gather a square pegboard, matching fuse beads, ironing paper and a dry household iron. Pick a clear photo with one subject. A pet’s face, a simple flower or a favorite object gives you a shape you can recognize on a small grid.
1. Crop around your subject
Crop close to the subject before uploading the photo in TooBead Studio. Then choose a grid that fits your board. Try a 24 × 24 design for a first project and leave an empty border around the shape. Each square in the preview is one bead.
2. Simplify the colors
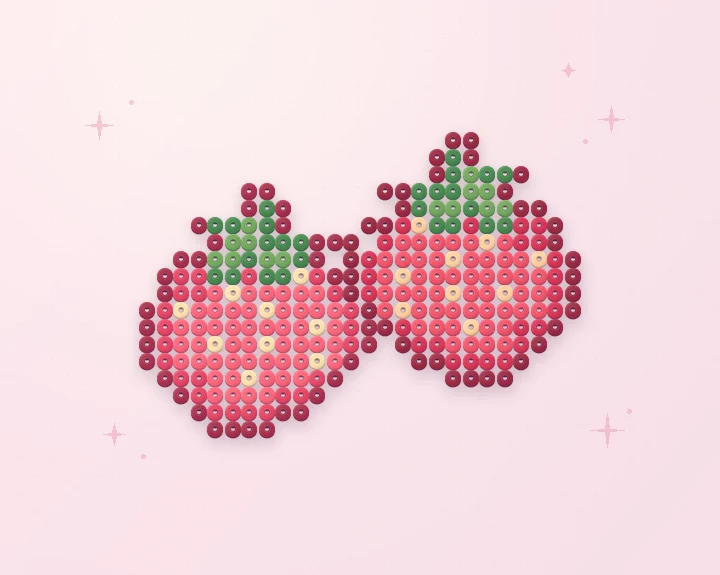
Start with roughly six to ten colors, then use the preview to see which details are still readable. Strong outlines and clear color blocks survive the jump from photo to fuse bead pattern. The editor uses a generic digital palette, so match the preview to the actual colors in your Perler, Hama or Artkal bead stash before you start.
3. Refine the grid and place your beads
Clear stray pixels, fill accidental gaps and check that each section connects to a neighboring bead. Download the pattern as an image or keep the grid open while you build. Start with the outline, fill the larger blocks of color, and double-check your rows before fusing.
4. Fuse your design
Have an adult handle the iron. Set the pegboard on a flat, heat-safe surface and cover the design with ironing paper. Follow the instructions for your specific beads, then let the piece cool before removing it from the board. Check Perler’s fusing guide if you’re using Perler beads.
Perler’s standard fusing instructions
Photo to pattern